This has always been important to me in all of my apartments. To have a place to sit and share a meal each day, like an adult. Not sitting on the couch with my food on my lap, like I did in college. (I'm too messy when I eat for that). But small city apartment living often limits the space needed for a kitchen table and chairs.
As usual, Ikea saved the day, by offering a very affordable pop-up, wall-mounted table. It fit perfectly into our Chicago living room. We mounted it high on the wall and used Ty's existing Target brand bar-stools as seating. Functionally, it was perfect, but aesthetically, I really wanted to update the stools with a lighter color. Their reddish brown stain was too heavy for the small space and I longed to change them up. But ultimately we never did, because the logistics of painting furniture in a city apartment without a yard were too difficult.
Fast forward a year later, to me scanning through Instagram in a crowded airport terminal waiting to board a flight to New York. That was when I spotted these awesome color-block stools on Domino Magazine's account. Clean and simple, unique but approachable. I was totally re-inspired to makeover our stools as soon as I got home!

While I absolutely LOVE the idea of using gold for the accent color, it seemed rather glitzy for our little mountain hideout (plus I try to spare Ty from living in a super feminine space, and gold=girly). Since our kitchen is white and gray with natural blonde wood cabinets, I decided to use gray as the accent.
 |
| Our little dining area in the Washington kitchen with the stools in their original form |
 |
| Obligatory "before" picture |
 |
| Supervisor Mae, making sure I do a good job. |
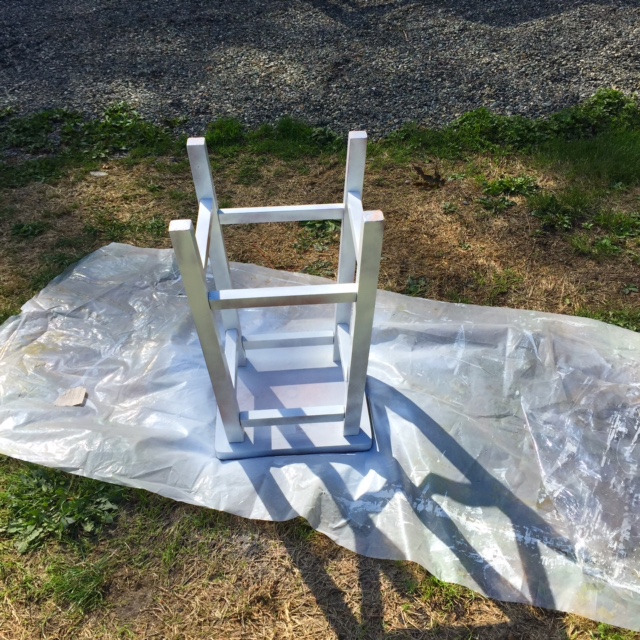 |
| First coat of white spray done and looking good. |
After completing a few coats of white, I moved onto the taping phase...which is when the disasters began. The so-called "painter's tape" adhesive was too strong and actually ripped off the white coat, grrrrr! Meaning that I had to go back to Home Depot for some more white spray paint.
The new can of spray paint came out differently than the previous cans I had used, and the flow was too thick, meaning that the paint bubbled and cracked. To fix this, I waited until it was completely dry and sanded it off to repaint.
The following day, I completed the project with the gray. However, the previous day's tape apparently sprung a gap in between overlapping layers, leaving plenty of room to allow the grey spray to leak through onto the white legs. Which meant more time spent covering it up with white, yet again.
I ran out of white paint and had to return to Home Depot a third time in as many days to get more spray paint. Ridiculous.
Lesson learned, I prefer brush paint to spray paint.
 |
| Post disaster, just one more coat on the top before they're done! |
 |
| I am loving how the stools now compliment and brighten the space now! |
Happy spray painting!
xoxo,
Bee
I'm with you on brushing rather than spraying the paint (except primer for some projects).They really did turn out cute!
ReplyDelete